

Hi techies ! This is going to be my first blog here, and I wanted to share with you a school project that I worked on last semester. I will guide you step by step, so I hope that everything will be clear to you and you can follow along with me. Let's get started !
⚠️ Disclaimer ⚠️ This tutorial is not complete yet and will be finished in a few days. Make sure to follow for updates. 🙂
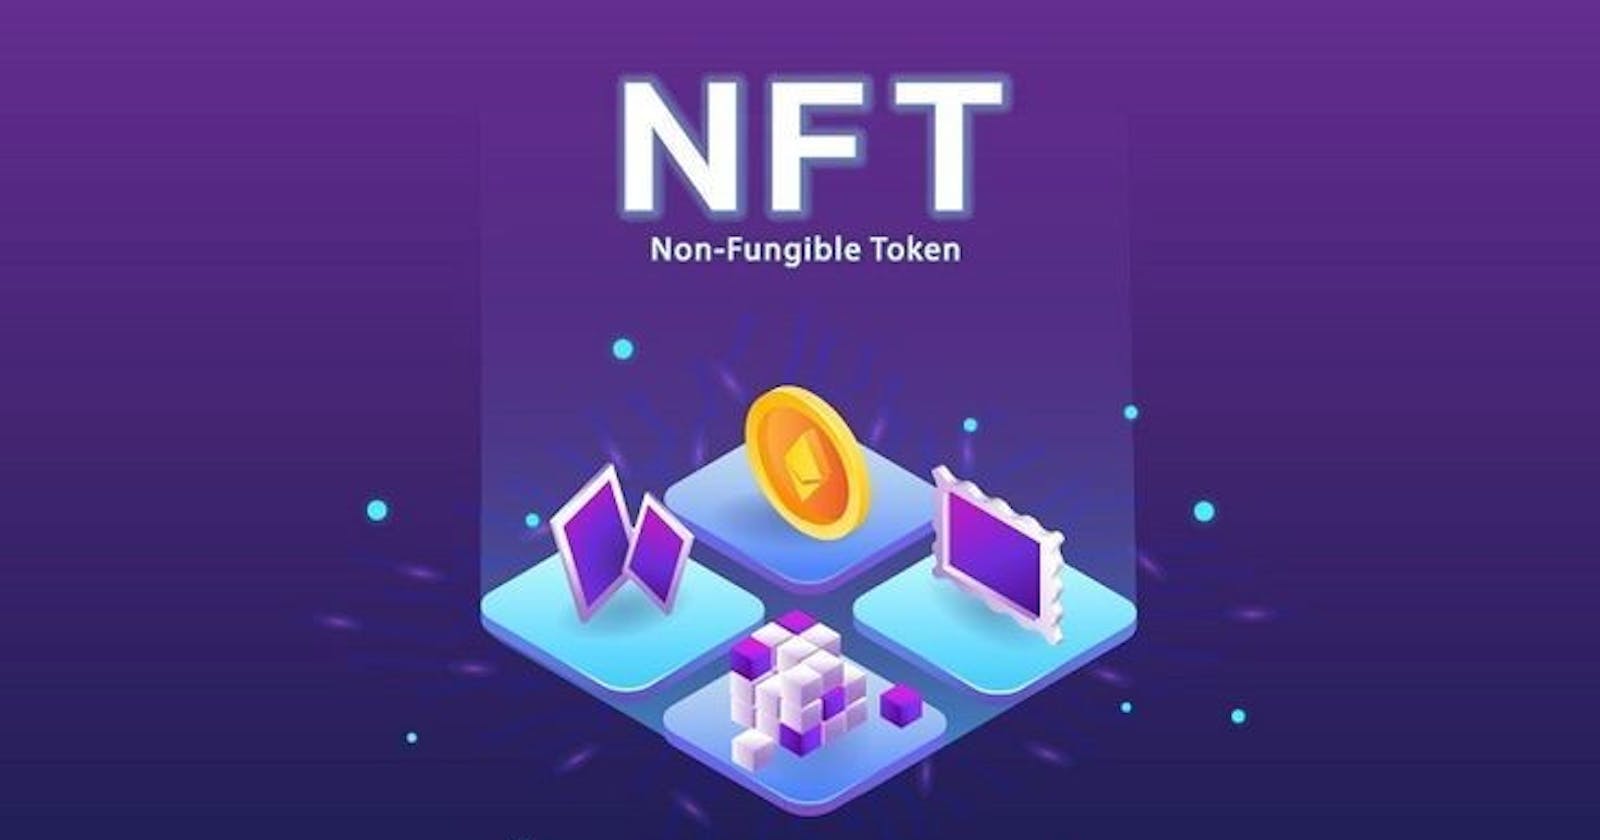
1.General Idea Describing the Approach Used to Build the Project
The project is about building an NFTs Marketplace website using Spring Boot as a Server, Angular on the Client side, Solidity to build the contract used for transactions, and MongoDB to store the NFTs metadata after minting the NFTs on the Ethereum blockchain.
Here's an overview of how I tried to accomplish this:
i. Minting NFTs on the Ethereum Blockchain: We will use a Solidity smart contract to create an NFT contract on the Ethereum blockchain. This contract will include the logic for minting new NFTs, as well as managing the ownership of the NFTs. We will use a tool such as Hardhat to deploy the smart contract to the Ethereum blockchain.
ii. Storing NFT metadata in MongoDB: Once the NFTs are minted on the blockchain, we will store the metadata for the NFTs in MongoDB using Spring Boot. We will create a REST API using Spring Boot that will allow us to interact with the MongoDB database. This API can be used to store and retrieve information about the NFTs, such as their unique identifiers, ownership information, and other relevant data.
iii. Angular frontend: Angular will be used as frontend framework to interact with the REST API and provide the user interface to interact with the NFT marketplace.
iv. Interaction between Angular and Spring Boot: Angular can interact with the Spring Boot backend by making HTTP requests to the REST API. This will allow us to mint new NFTs on the blockchain and store the metadata for the NFTs in MongoDB.
Also, we’ll need to have an Ethereum node running and connected to the Ethereum network to interact with the blockchain and deploy smart contracts. We’ll be using a pre-built client like Geth.
2.Solidity Contract
2.1. Setting up and running a Geth node:
1. First we need to download the latest version of Geth from the official website.
2. Then open a Command Prompt window and navigate to the folder where the Geth tool is installed and run the command:
geth --http --http.corsdomain http://localhost:4200
This command will start a Geth node that listens for incoming JSON-RPC requests on port 8545 and enables the web3 and eth APIs.
2.2. Setting up, writing, and deploying the Solidity Contract:
1. Creating the folder monsters-collection where we will write our solidity smart contract that will contains minting and managing NFTs functions:
mkdir monsters-collections
2. Installing npm packages and Hardhat that is used to deploy the contract:
npm init -y
3. Creating a Hardhat project inside our project:
npx hardhat